
Slug: automate-ero-ops-increase-volume
Excerpt: Automate ERO operations with five practical steps: standardize intake, automate compliance checks, centralize docs, streamline bank product workflows, and track KPIs.
Tags: ERO Operations, Tax Firm Operations, Tax Workflow Automation, Service Bureau, Bank Products, Compliance, Quality Control, Georgia, Tax Business Growth
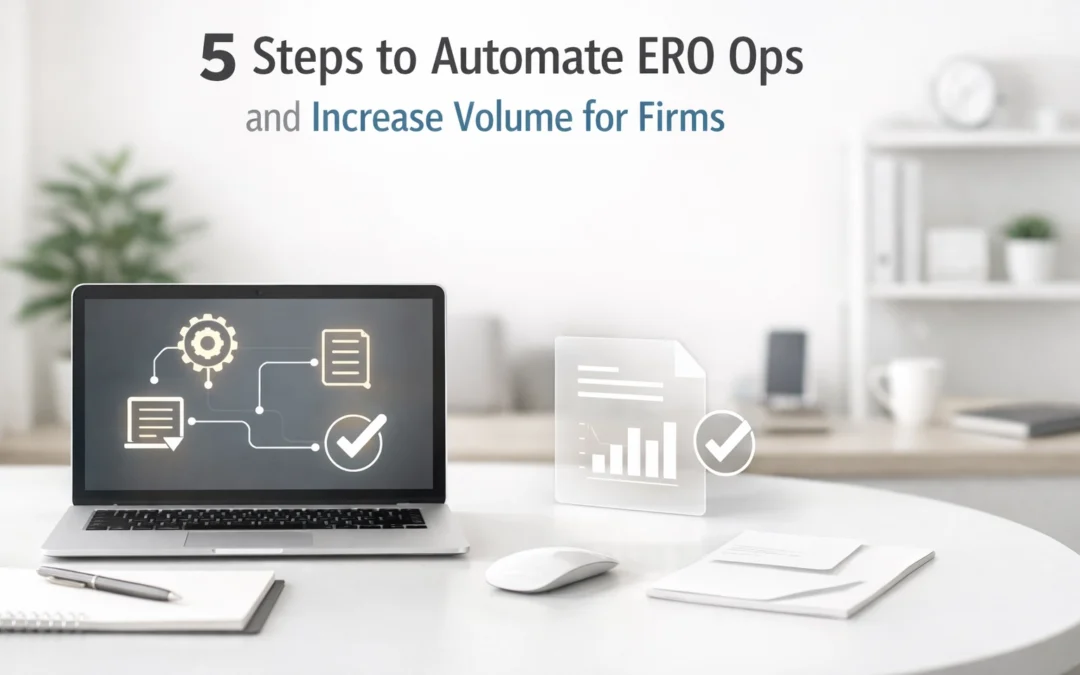
5 Steps to Automate ERO Ops and Increase Volume for Firms
What “ERO ops” means in a high-volume tax office
For most tax businesses, ERO operations include the internal steps that sit between “client shows up” and “return gets accepted and funded,” such as:
- Identity and eligibility checks (KYC/ID, due diligence, basic fraud screening)
- Document intake and source data capture
- Return readiness gates (missing items, signature status, required forms)
- Bank product workflows (if offered): disclosures, acknowledgements, funding milestones
- E-file packaging, transmission, rejection resolution, resubmission
- QA, metrics, and staff task assignment
Automation does not replace professional judgment. It removes repetitive steps, standardizes decisions, and creates consistent proof that controls were followed.
Georgia-specific context (Week 4 focus)
Georgia offices that scale quickly typically face the same operational stress points: heavier rejection volume during peak weeks, inconsistent intake, and uneven documentation for due diligence and QA. Automation should be designed to do two things:
- Reduce touches per return (fewer manual handoffs)
- Increase defensibility (better logs, timestamps, and consistent checklists)
Step 1: Standardize intake into a single digital “front door”
High volume breaks down when the firm has multiple intake paths (walk-in paper, texted photos, emails, portal uploads) with no consistent naming or completeness rules. Start by forcing intake into one controlled workflow.
Operational goal: Every file enters the pipeline in the same structure, with the same minimum requirements.
Implementation checklist
- Use one intake channel as the default (secure portal, kiosk upload, or staff-assisted scan station).
- Use a single naming scheme for all uploads (ClientLastName_FirstName_TaxYear_DocType).
- Require a minimum “ready-to-prep” packet (ID, SSN/ITIN cards, W-2/1099s, prior-year return if required by policy, bank product disclosures if applicable).
- Create a short, required intake form for preparer-critical data (entity type, filing status confirmation, dependents, prior-year PIN, address changes).
Automation opportunities
- Auto-create a client folder and job ticket when intake form is submitted.
- Auto-send missing-document requests based on a checklist (no staff typing).
- Auto-assign the job to the right queue (new client, returning, amendment, schedule C, multi-state).
What to measure
- % of returns entering the pipeline “complete”
- Average intake-to-ready time
- Number of client contacts required before prep begins
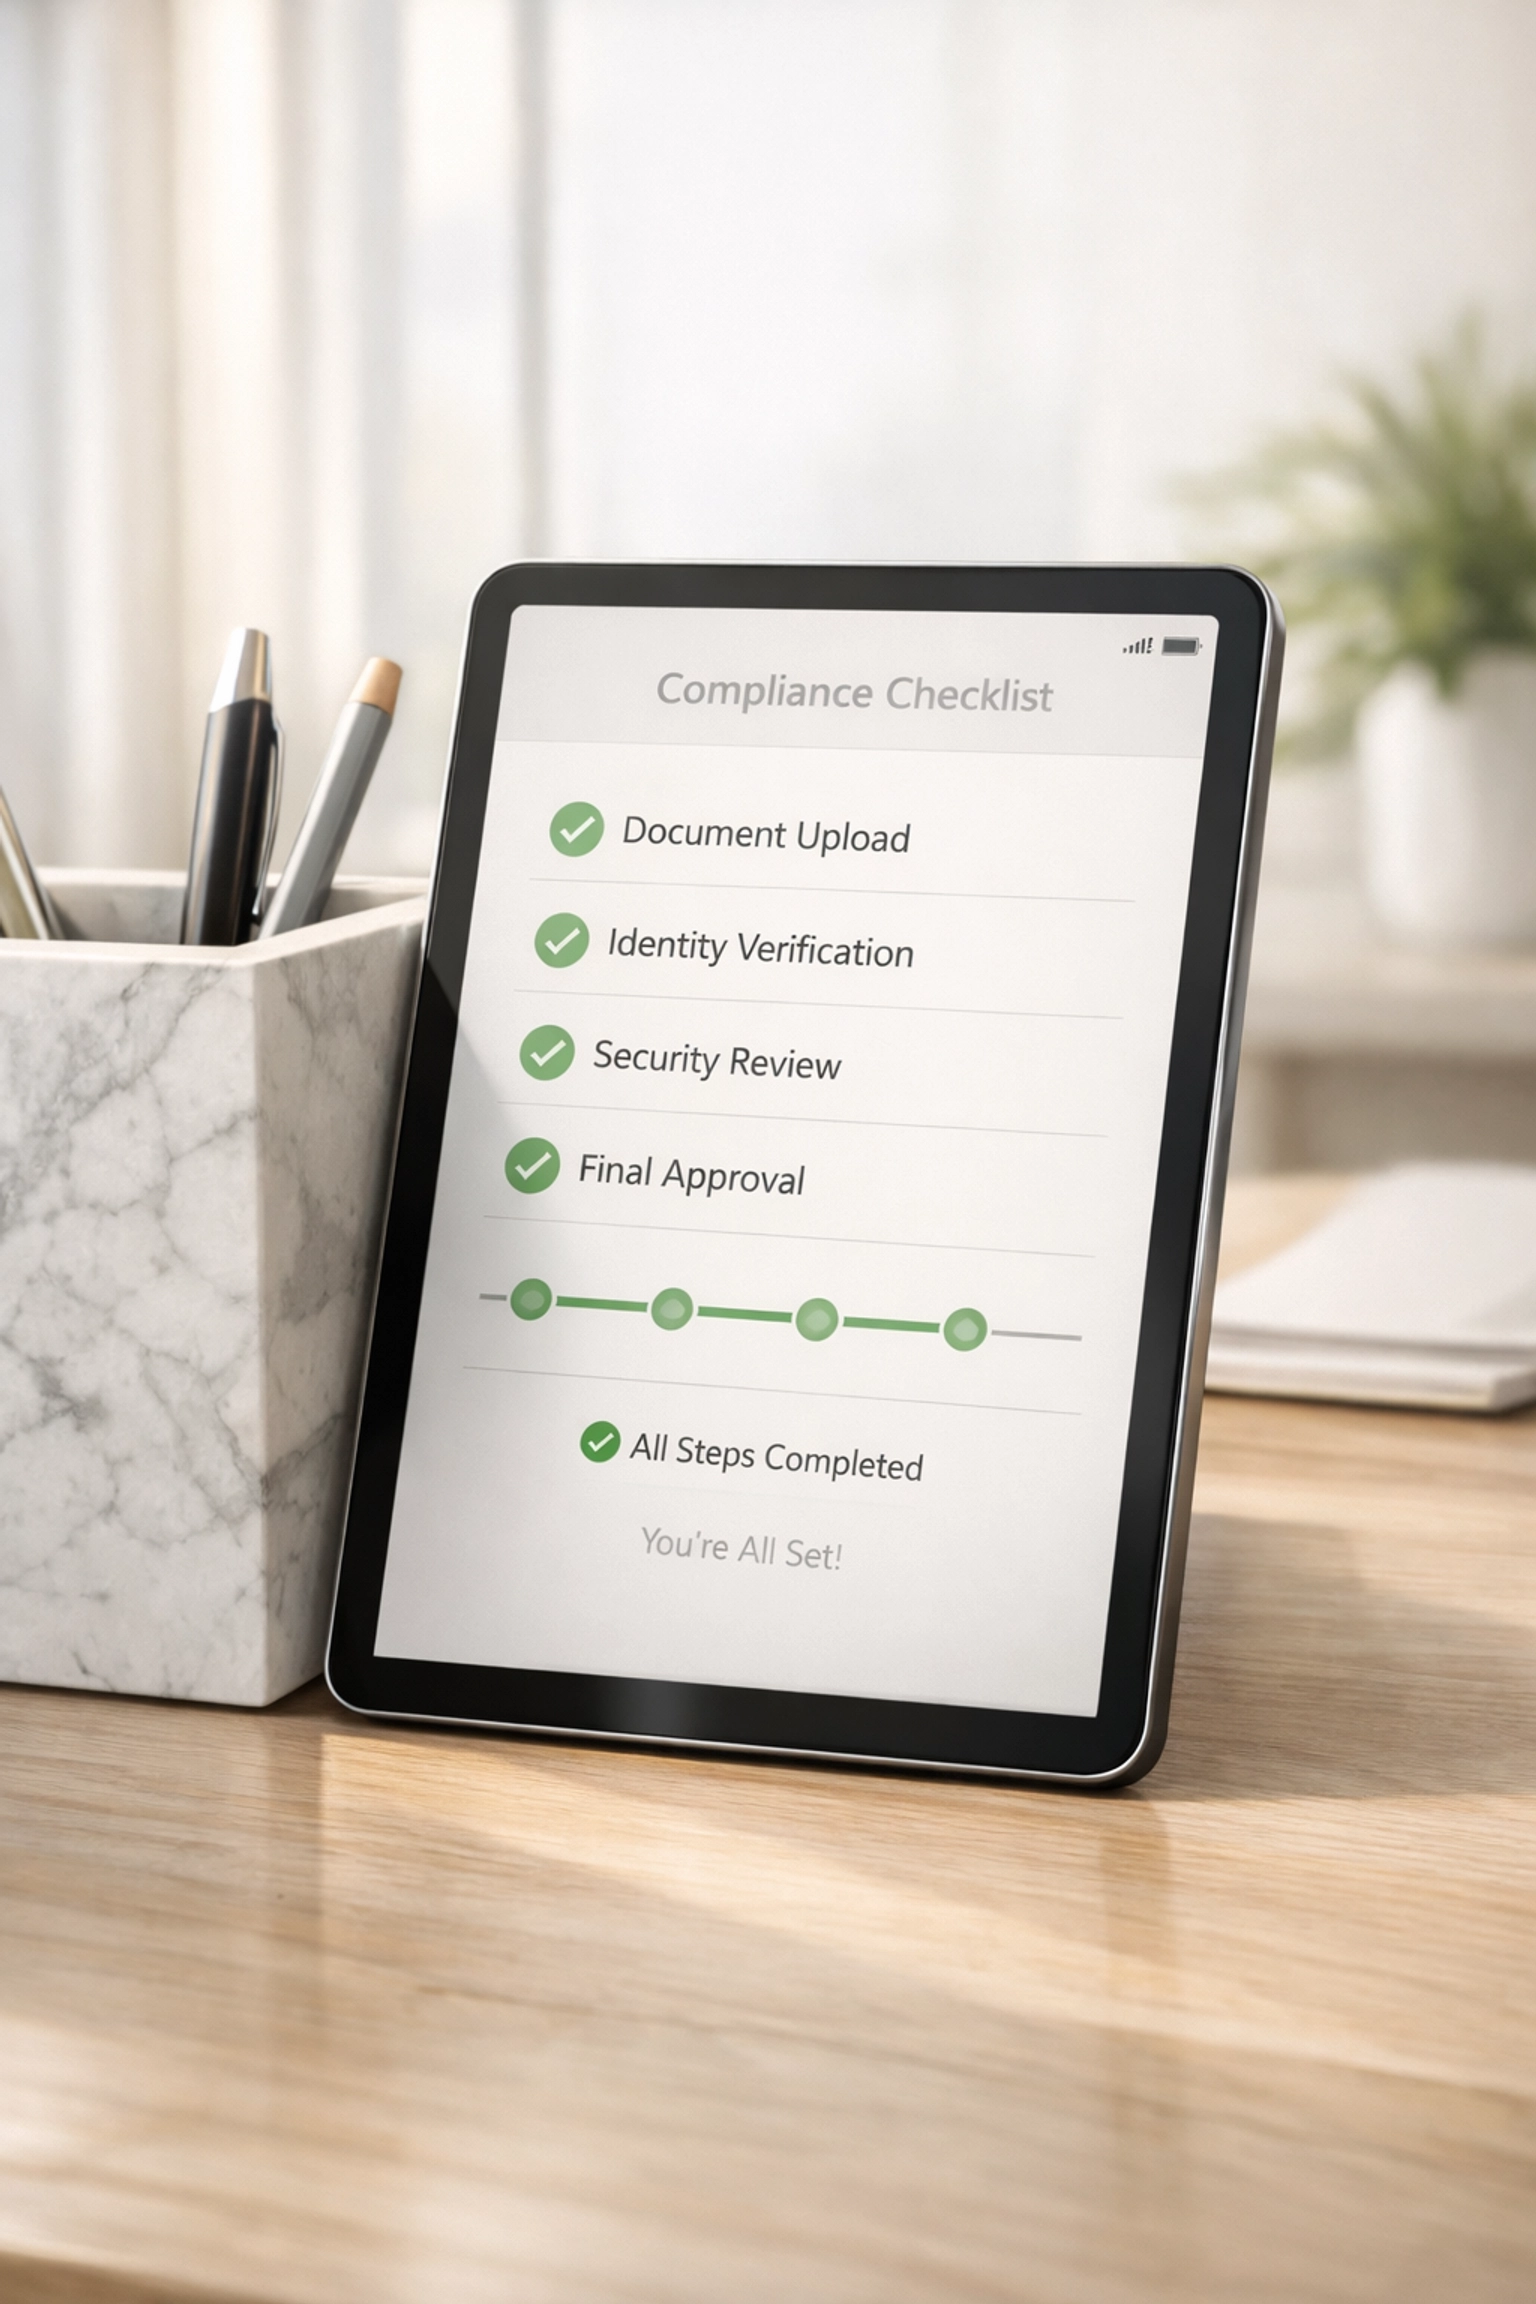
Step 2: Automate compliance gates (not just reminders)
Most ERO ops problems come from letting returns move forward without passing basic gates. Gates should be enforced by your workflow tool or checklist system, not managed from memory.
Operational goal: No return advances unless required steps are completed and documented.
Core gates to build
- Identity verification gate: Verify and log what method was used (in-person ID check, knowledge-based verification, etc., per firm policy).
- Due diligence gate: Check required items are present for credits that trigger additional diligence in your process (document what you reviewed and when).
- Signature gate: Ensure required e-signature items are completed before transmission.
- Bank product gate (if used): Ensure required disclosures, acknowledgments, and consents are captured.
Automation opportunities
- “Stop” status in the pipeline until a gate field is completed.
- Auto-generated audit trail: who marked gate complete, date/time, and attachments linked.
- Exception routing: if a gate fails, auto-route to “Review” rather than letting staff proceed.
Georgia note: Build an explicit gate for state return readiness so GA-specific items (county/municipality fields if applicable, residency status, and state withholding details) are reviewed before e-file packaging. The point is consistency, not complexity.
Step 3: Centralize documents and reduce re-keying with structured capture
Firms lose time by re-downloading documents, searching inboxes, and re-typing numbers from PDFs. Centralization is a volume multiplier.
Operational goal: One system of record for documents and one source of truth for return status.
Minimum requirements
- All documents stored in one location tied to the job ticket.
- Role-based access (preparer, reviewer, ERO admin).
- Version control: prevent “multiple final PDFs.”
- Consistent indexing: W-2, 1099-NEC, 1098, K-1, prior-year, ID.
Structured capture options
- Use OCR/scan tools to extract common fields (W-2 wages/withholding, payer EIN, 1099 amounts).
- Use standardized organizer forms so data arrives consistently (Schedule C expenses, mileage, home office, dependents).
Automation opportunities
- Auto-flag mismatches (e.g., withholding present but no state return selected).
- Auto-create a “prep summary” that shows extracted totals and missing sections.
- Auto-notify the assigned preparer when new docs arrive, tied to the correct job.
What to measure
- Average prep time per return (by complexity tier)
- Number of “doc hunts” per return (track as internal tasks)
- Rework rate caused by missing/late documents
Step 4: Streamline bank product and funding workflows with status-based controls
If your firm offers bank products, volume can increase while operational risk increases. The solution is a status-based workflow that maps each milestone and restricts what actions can be taken next.
Operational goal: Clear, automated movement from “eligible” to “funded,” with minimal manual tracking.
Build a simple milestone map
- Intake complete
- Eligibility reviewed (per firm policy)
- Disclosures delivered/acknowledged
- Return signed
- Transmitted
- Accepted (federal/state)
- Funding initiated / fees collected (as applicable)
- Funded / closed
Automation opportunities
- Auto-send required disclosures at the correct stage (not at intake, not after transmission).
- Auto-create tasks when rejections occur (with rejection code, owner, and SLA).
- Auto-lock “Transmit” until signature and gate completion are confirmed.
- Auto-post status updates to an internal dashboard so staff do not rely on ad hoc messages.
Risk control
- Separate duties: the person closing funding should not be the only person able to override gates.
- Require documentation for overrides (dropdown reason + attachment).

Step 5: Build a performance dashboard tied to capacity and quality
Automation without measurement is just new tools. A basic operational dashboard prevents silent bottlenecks and helps plan staffing.
Operational goal: Make throughput and quality visible daily during season.
Daily dashboard metrics (minimum set)
- New intakes today / week-to-date
- Returns in each status (intake, prep, review, signature, transmit, rejected, resubmitted)
- Average age in each status (days/hours)
- Rejection rate (federal and state) and top rejection reasons
- Review fail rate (returns sent back from reviewer to preparer)
- Touches per return (number of internal handoffs)
Capacity controls
- Complexity tiers (simple W-2, W-2 + credits, self-employed, multi-state, entity).
- Set WIP limits per preparer/reviewer (how many open jobs they can hold).
- Auto-reassign when queues exceed thresholds.
Quality controls that scale
- 100% review for defined categories (first-year clients, EITC/ACTC by policy, Schedule C over threshold, identity-risk flags).
- Sample-based review for low-risk categories (once performance is stable).
- Rejection reason analysis: fix process, not people.
Georgia-specific operational target
During peak GA filing weeks, focus on rejection turnaround time as a primary metric. A fast, controlled rejection loop protects volume more than adding new intake capacity.
Recommended automation stack (functional categories, not brand-specific)
Select tools based on integration and audit trail, not feature lists. Minimum functional categories:
- Workflow/ticketing: statuses, assignments, SLAs, approvals, audit logs
- Secure client intake: portal, upload, e-sign, messaging tied to the job
- Document management: standardized storage, indexing, permissions, versioning
- Data capture: OCR/structured extraction for common tax docs
- Reporting: dashboards, queue metrics, exportable logs for internal controls
If you offer products or onboarding for tax professionals, keep the “system of record” consistent. Splitting status across multiple tools increases errors.
Reference: TIG Tax Pros main site for firm resources and updates: https://www.tigtaxpros.com
Common failure points (and how to avoid them)
Failure: Automating before standardizing.
Fix: document the current workflow, remove optional steps, then automate the simplified version.
Failure: No enforced gates.
Fix: create hard stops in the workflow (cannot transmit, cannot close, cannot fund) until gates are completed.
Failure: Too many status labels.
Fix: keep 8–12 statuses maximum, with clear definitions and one owner per status.
Failure: No exception process.
Fix: build an exception lane (manual review queue) with override controls and logging.
Failure: Automation that creates new work.
Fix: measure touches per return. If the number increases after a tool change, roll back and redesign.
Quick implementation plan (10 business days)
Day 1–2: Map and simplify
- List current statuses and handoffs
- Define “ready-to-prep” minimum packet
- Define compliance gates and who approves overrides
Day 3–4: Configure intake + job creation
- Standard forms, naming rules, folder/job automation
- Auto-messaging for missing items
Day 5–6: Configure gates + review loop
- Gate fields, stop conditions, reviewer routing
- Rejection tasks with SLAs
Day 7–8: Bank product/funding milestones (if applicable)
- Milestone statuses, disclosure timing, lock rules
Day 9–10: Dashboard + KPIs
- Build daily dashboard
- Set queue thresholds and WIP limits
- Train staff on definitions and escalation rules